Error Of Your Ways 11 DIY Pedicure Mistakes To Avoid
If you want perfect DIY pedicure results, then avoid these 11 common mistakes pretty much everyone makes when doing their nails at home.

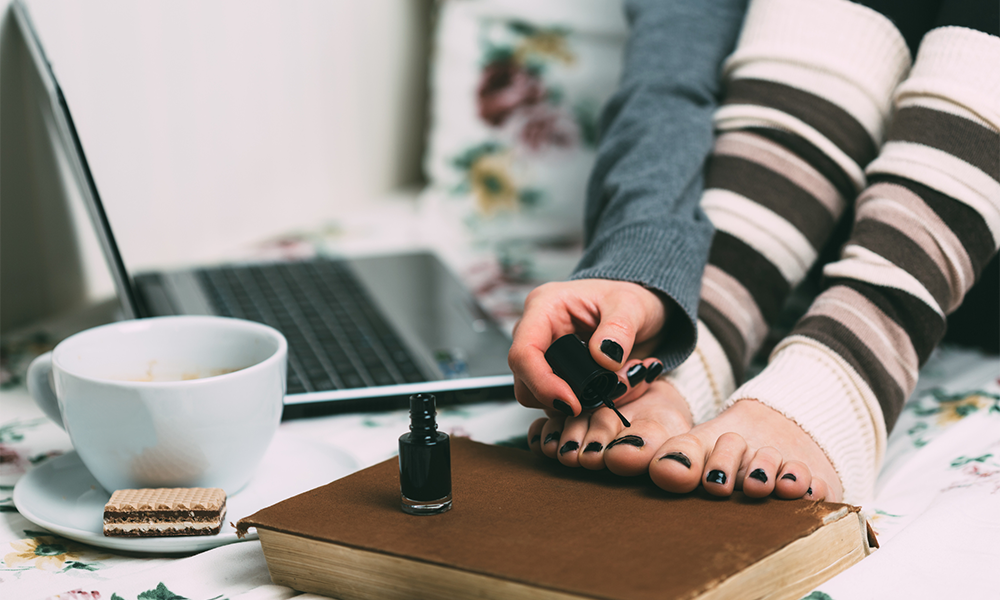
Congratulations on trying to master a pedicure at home. Not only will you save yourself serious moolah by perfecting the ultimate DIY pedicure you can give yourself any time, you’re going to have seriously smooth and relaxed feet — and that’s the key to true happiness.
However, before eternal bliss can be yours, you’ll have to learn the "pedicure dont's" to avoid while giving yourself the ultimate at-home foot treatment. Here are the top 11 DIY pedicure mistakes everyone seems to make and what you should do instead to create the perfect pedi.
1. Storing Your Nail Polish In The Bathroom
Most of us keep our pedicure basics in the bathroom, but it’s actually a really bad environment for nail polish. The hot and steamy air that results from showering can separate pigments in the polish and cause it to get thick and gelatinous. Try to store your nail polish in a cool, dry place instead. And while we’re on the topic of hot and steamy, you should try to avoid giving yourself a pedicure in a hot and humid area, as well. Too much moisture affects polish application (see #7) and a muggy environment affects polish drying time.
2. Shaking Your Nail Polish Bottle
We’re pretty certain everyone from your manicurist to your grandma shakes her bottle of nail polish before painting her nails, but it’s a serious no-no. Experts warn the automatic shake response actually creates air bubbles in the polish that can make their way onto your nails. The best way to freshen the polish and prepare the mixture for a pedicure is to roll the bottle between your flat hands to gently get the polish inside moving.

3. Cutting Your Cuticles
This nail mistake has created quite a debate. It used to be common practice to cut the cuticles, which makes the nails look neat and clean, and therefore millions of people still slice and dice the delicate skin. However, most modern nail enthusiasts insist that cutting your cuticles leaves your nails vulnerable to infection as it basically gives bacteria and fungus a free ride straight into your blood stream. So rather than throwing a party for harmful organisms, soften your cuticles with cuticle oil and gently push them back with a cuticle pusher or orange wood stick.
READ ALSO: A Super Relaxing DIY Organic Pedicure
4. Painting Over Your Cuticles
You shouldn’t cut your cuticles, but you shouldn’t paint over them, either. There’s no health risk to doing so, but it makes your paint job look sloppy. If you accidentally polish ‘em up, use a Q-tip dipped in nail polish remover to give it a quick fix.
5. Cutting Your Toenails The Wrong Way
Contrary to popular belief, you should cut your toenails straight across rather than in a curved shape. The reason? The latter can cause painful ingrown toenails. You should also try to avoid cutting the nails too short, which leaves your feet vulnerable to infections.
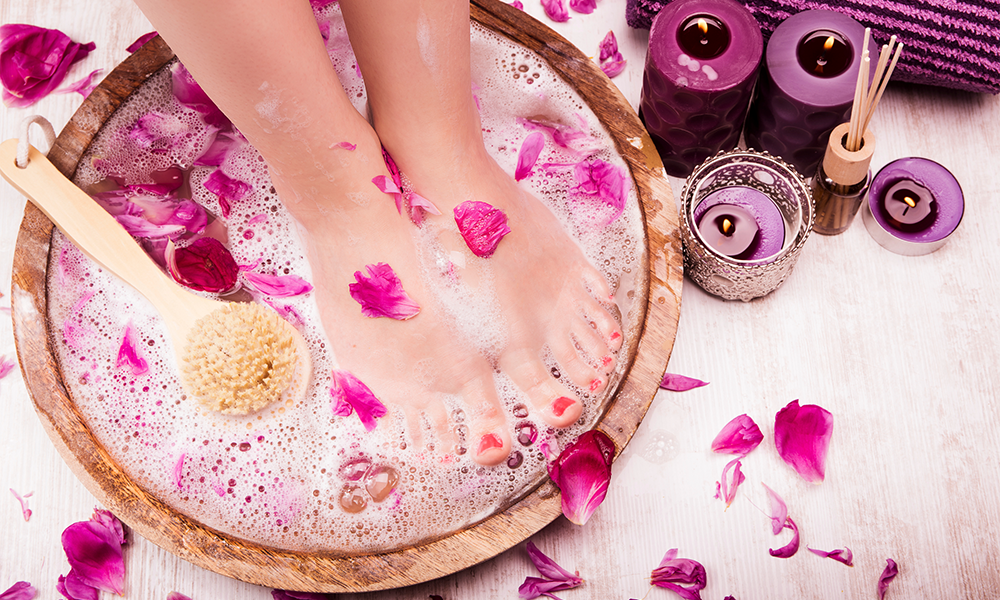
6. Exfoliating While Your Feet Are Dry
A lot of people make the mistake of trying to slough off dead, dry skin without wetting the area first. But this can actually do more harm than good. Rather than sanding away like you’re trying to refinish an old dresser, soften the skin first by soaking your feet in warm water for about 10 to 15 minutes and then use a pumice stone or gentle foot scrub to help remove the dry skin.
7. Applying Polish Immediately After A Foot Soak
It might be tempting to start applying nail polish as soon as your relaxing pedicure foot soak is over, but experts say your nails need time to dry before you take the painting plunge. When submerged in water, nails absorb moisture and slightly expand. As they dry, they start to shrink — which could affect the paint you’ve applied. Therefore, it’s best to wait at least 10 minutes between a foot soak and polish application.

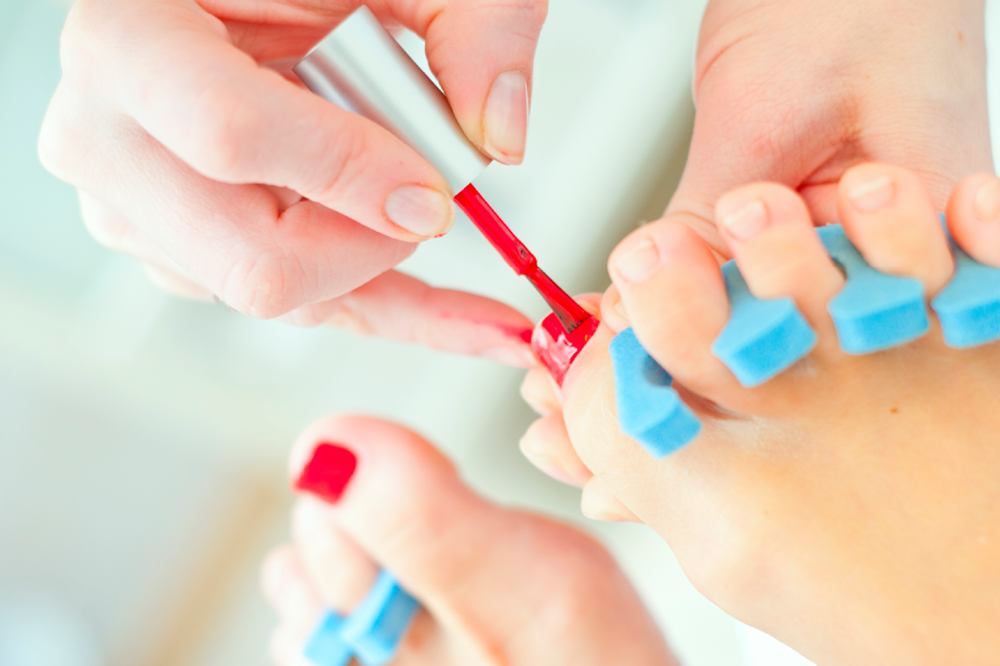
8. Applying A Thick Layer of Polish
However tempting it may be to load on a thick layer of nail polish and call it a day, don’t. Though a dense coat quickly gives you the color you see in the bottle, it leaves the polish more prone to chipping. Instead, apply two to three thin layers of polish, being sure to let each layer dry two to three minutes between applications.
READ ALSO: Why You Should NEVER Throw Nail Polish In The Trash
9. Skipping Base And Top Coats
Another time-saving step many DIY pedicure enthusiasts make is skipping a base coat or a top coat. This is a HUGE no-no. A base coat protects your nails from harmful chemicals in the polish that may cause discoloration and it helps fill in any ridges so you get a smooth polish application. Meanwhile, a top coat ensures your polish stays put for as long as possible and also gives your pedicure an ultimate shine.
10. Using Quick-Dry Products
They may save you some major time, but quick-drying products wreak havoc on your nails. They don’t just dry your polish; they also have the potential to seriously dry out your nails, too. If you’re short on time and want your polish to dry, try running your nails under cold water to help set the polish in place.
11. Skipping Out On Sunscreen
Your nails need sun protection, but regular sunscreen can actually affect the color of your nail polish, so you’ll want to wipe your nails clean if you slather on SPF prior to a pedicure. In order to keep cancer-free, apply a UV-blocking topcoat as your final pedicure step.
READ MORE: How To Keep Your Pedicure Fresh At The Beach
Notice concerning medical entries:
Articles having medical content shall serve exclusively for the purpose of general information. Such articles are not suitable for any (self-) diagnosis and treatment of individual illnesses and medical indications. In particular, they cannot substitute for the examination, advice, or treatment by a licensed physician or pharmacist. No replies to any individual questions shall be effected through the articles.


